|
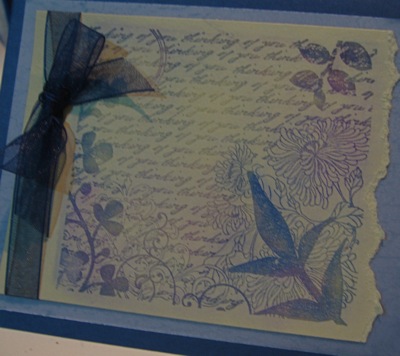
Technique Tutorial - Applying Pastel Colour to Versa Mark Images.Here is a quick Technique tutorial for you. Pastels on Versa Mark Ink give you the opportunity to create soft variations in colour within a single stamp. The large stamp from Fresh Cuts by Stampin Up, is a perfect example of creating interesting colour changes.
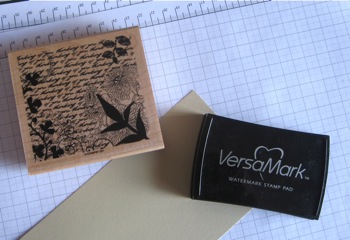
Equipment needed.
Apply lots of Versa mark to the stamp. Larger stamps apply ink as shown.
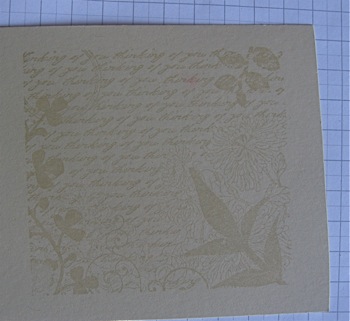
Stamp the image. It will appear like a watermark on your card stock.
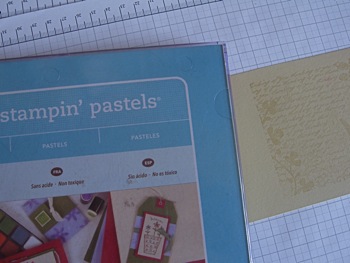
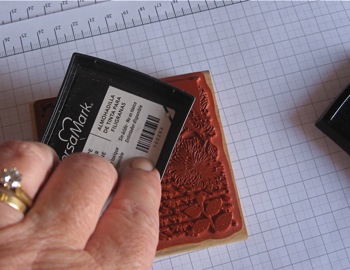
Use your Stampin Up Pastels to get full access to colours that co-ordinate with the card stock.
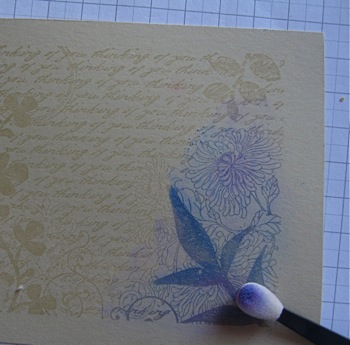
Load the applicator with colour and gently dab it onto the Versa mark image. I like to load two colours on the applicator - one on each side, so I can apply different colours at the one time.
Try to get some light and shade into the application of the pastel. Use a light hand and build colour rather than applying it heavily in the first instance. Squint at the image as you progress and that will break it down into light and dark areas, giving you an idea of what area, if any, still needs developing.
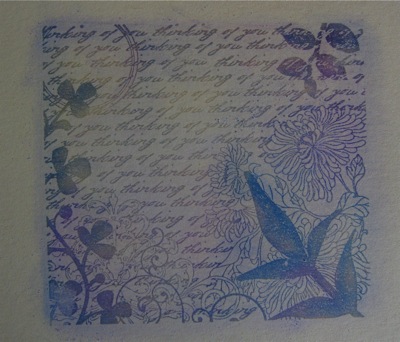
Complete your project by matting and applying any embellishments you require. You can dust off any excess pastel with a soft brush, but the best advice is to apply pastel only to the inked areas and that will save on clean up. Click here if you would like further information on any products needed for this technique.
|