|
Use Rub Ons To Compliment Your Rubber Stamped Craft Projects.Rub Ons from Stampin' Up! help you create a very professional finish to your stamped cards and scrap pages. They adhere very well to non porous surfaces like photos, glass, wooden frames, candles and they look great rubbed onto ribbon embellishments on your cards. This month (November 2008) Stampin Up, through Independent Demonstrators, is offering all customers 20% discount on the cost of all of these fabulous time-saving sets. WHAT IS THE CATCH? Well there is just a teeny little one, but it is something that all you Stampin Up customers will love anyway. Just spend $20.00 on any Stampin Up Merchandise in an order with your demonstrator and then you can have an unlimited number of Rub On Sets at 20% discount. 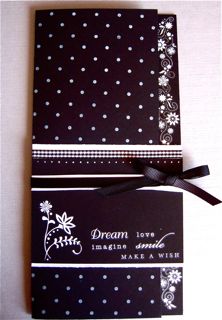
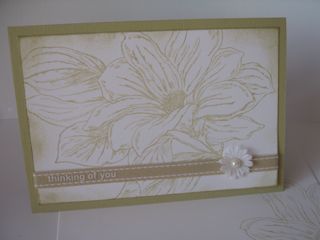
You can be really "crafty" (no pun intended) and order some of the Individual Stampin Write Markers (SU's other great November Promotion) to a minimum value of $20.00 then start getting your Rub Ons for the discounted price. I have a few little examples here to show you some ways you might consider using them. This card is made mostly with the designs from the Eastern Elegance Set on page 6 of the Spring Mini Catalogue. I love this set and find the variety of greetings and images very versatile. Just a quick reminder here that availability of all the items from the Spring Mini finishes on November 30th, 2008. So now is a wonderful time to stock up, at a discounted price. I've also used the Polka Dot Background stamp for the background, and the Black Gingham and Black Grosgrain Ribbon.
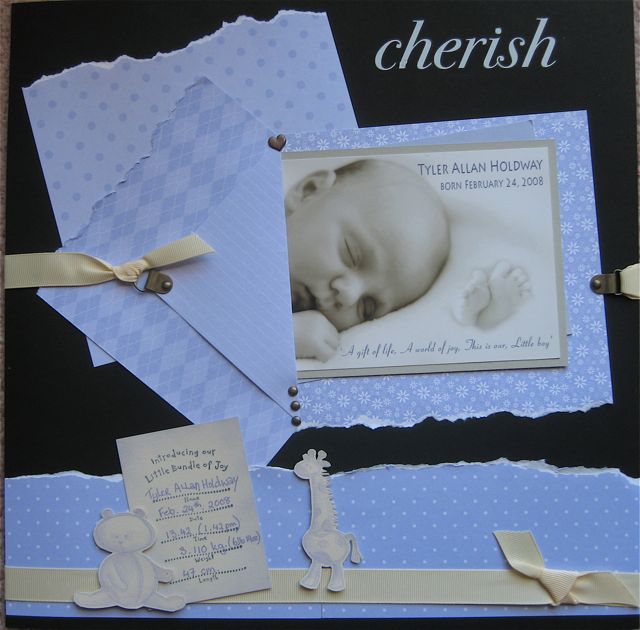
Adding greetings or headlines to a scrap page is another way these can be used. Here you can see the word "cherish" is an image from the Cherished Memories Set. It is quite easy to apply white transfers to dark coloured card stock, and because the images come on semi transparent paper, you can position them exactly where you want them without having to use a Stamp-A-Ma-Jig. Have a quick look at the on-line catalogues on pages 141 of the Stampin' Up Idea Book and Catalogue, and on pages 6 and 11 of the Spring Mini Catalogue. I'm sure you'll find a Rub On set that suits your requirements. Next I have an example of using them on ribbons on cards.
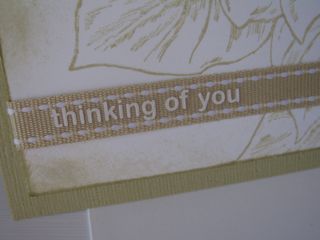
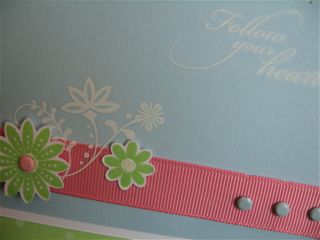
See how nicely the greeting sits between the stitching on the ribbon. You need to take a little extra care when applying the images to a surface like ribbon, and be very careful when you lift the backing paper away from the image. Sometimes it doesn't adhere too well in the first instance, but with a little gentle pressure from one of your fingers after the backing paper has been removed, the images stick really well. Here is a closer look ....
This last card shows how you can use the images across a number of different textures and surfaces. I find this helps to blend elements of design and assist with taking the eye around the composition. These images work very well when combined with stamped images, and as you receive both a black and a white sheet in each set, your options for use are numerous. Do you want more information about the
this Promotion.
How Do You Use Rub Ons For Card Making And Scrap Booking? Here are a few hints to help you use your Rub Ons successfully. Position the image BEFORE removing the backing.(Otherwise it will just stick to whatever it comes in contact with.) When the ideal position is established, remove the backing and gently rub with an icy pole stick, rounded end of a pencil of other smooth object. Keep rubbing until you see the image peel away from the plastic top - keep rubbing until ALL the image has transferred (sometimes this shows up as a "whitish" area) to the recipient surface or you will end up breaking it and ruining your project. As with every skill - Practice Makes Perfect! Enjoy discovering different ways of using Rub Ons in all your craft projects. Tell us how you use Rub Ons in different ways.
|