


|
Christmas Projects for 2008. Workshop # 1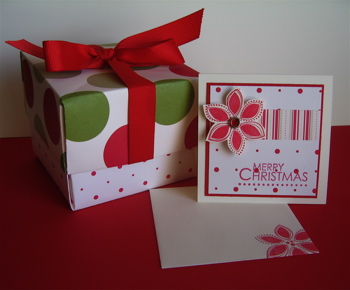
Christmas Workshop 1 started with a demonstration of how to make the Origami Box. This was a great hit with comments like "I'll never buy another box" and "these are great". They were made easier by using the wonderful Christmas themed Designer Series Double Sided Paper - Dashing from the IB & C. These double sided papers make co-ordinating the top and bottom of the box such an easy decision. You can either use 2 sheets with the same design and just turn one over, or because all the colours in the set co-ordinate so well you can choose different patterns to work together. The addition of the beautiful 1.6 cm Grosgrain Ribbon as a topper and bow, completes the project professionally. Instructions by Kristina Werner for this great little box can be found at her blog, here You can alter the dimensions to suit the size of card you are making. We used 10 x10 inches for the base and 10.5 x 10 .5 inches for the top. Note that the top needs to be slightly larger than the base so that it fits nicely over it. I fell in love with these and have made about 10 so far, so friends who usually receive a gift from me will be getting theirs in a box this year! The concept behind the night was to show a number of different items made from the same stamp set. This is where the system used by Stampin' Up! is superior to many other companies. One stamp set gives you so much freedom to create lots of different projects. This workshop showcased the Season of Joy stamp set from the Spring Mini Catalogue.
We accessed the convenience of the Love Notes Cards and the Double Sided Designer Series Papers - Dashing and the sparkle of the Rhinestone Brads - Fire, Round. Both the Poinsettia flower motif and the "Merry Christmas" greeting are from the Season of Joy" set. 2 of these little card took about 10 minutes to make. I would suggest a set of 6 - 8 inside an little origami box, would make a great gift prior to Christmas.
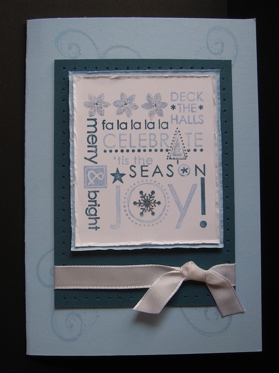
Items used for the blue card: * Card stock - Bashful Blue, Not Quite Navy, Whisper White *Stampin' Write Markers - Bashful Blue, Not quite Navy *Ribbon - White Taffeta 2-way glue pen *Dazzling Diamonds glitter *Versa Mark Ink *Adhesives: Snail, Dimensionals, Mini Glue Dots. *Crafters Tool Kit.
You can also just see that some of the images have been highlighted with a little dazzling diamonds. To do this you just draw on wherever you want to highlight with the 2-way glue pen, then sprinkle with the dazzling diamonds. Make sure you give this enough time to dry. Instructions and kits for making this card are available on request.
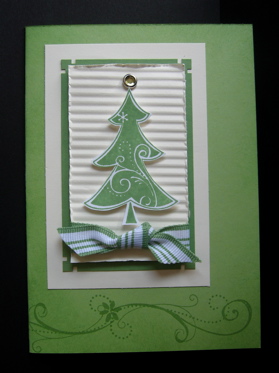
Products used for the green card: * Season of Joy stamp set * Card Stock: Very Vanilla, Wild Wasabi, Gable Green. * Ink: Wild Wasabi * Crimper * Ribbon: Wild Wasabi -striped * Rhinestone Brads- circle: ice * Adhesives: Snail, Dimensionals further information on any of the products used in these projects Browse the latest Catalogues on-line to see our huge variety of products for stamping and scrapbooking
|
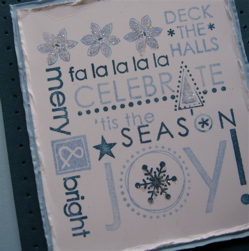 The detail shows how you can get different colours on the stamp image using the Stampin Write Markers direct to the rubber.